Resolve the Wall Assembly Before Finalizing the Order
The same veneer can be installed over different approved backup conditions, and those conditions do not use identical material lists. Wood framing, concrete masonry, cast concrete, and other substrates may require different preparation and accessories. A renovation also has existing conditions that may not match the new addition.
Before the purchase order is released, the builder and installer should work from the current drawings and the veneer manufacturer’s instructions. Confirm the substrate, water-resistive barrier or approved membrane, drainage method, lath and fasteners when applicable, scratch coat or approved adhesive system, pointing material, flashing, weep screed or drainage accessories, sealants, and movement-joint requirements. The exact list belongs to the approved assembly; it should never be improvised from a generic shopping list.
A material supplier can help verify that the requested components have been identified and can flag an obviously incomplete order. The supplier should not replace the architect, engineer, code official, manufacturer, or installer. If the drawing and the product instructions conflict, stop and obtain a documented resolution.
Detail Transitions Before Flat Walls
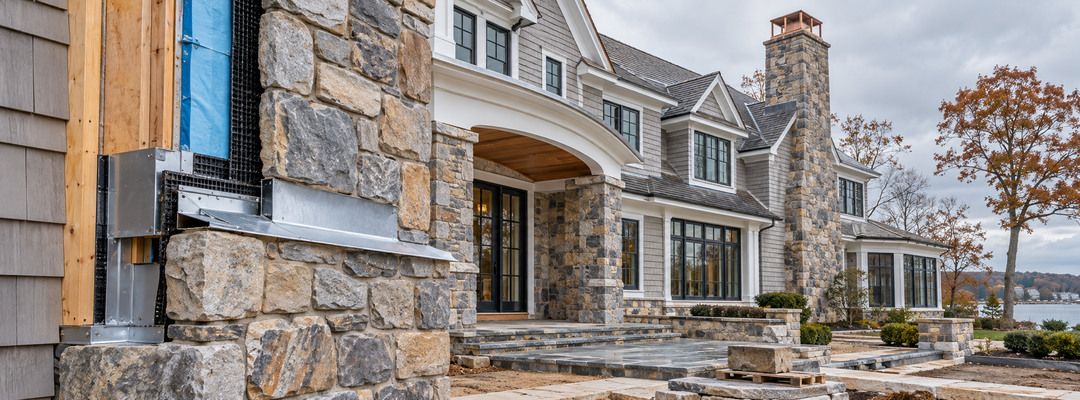
Large uninterrupted walls are rarely where coordination becomes most difficult. The important decisions are usually concentrated at transitions: window heads and sills, doors, roof-to-wall intersections, deck and patio connections, chimneys, parapets, wall caps, hose bibs, light fixtures, vents, utility penetrations, changes in cladding, and the bottom of the veneer.
Each transition needs a clear path for water and a finished visual relationship. A window surround may require a sill, trim piece, flashing, end dams, sealant joint, and a planned stone return. A chimney cap must protect the top condition while supporting the intended profile. Where stone meets shingles, siding, stucco, brick, metal, or wood, thickness and termination details determine whether the junction looks deliberate or patched.
These locations also drive quantities. Flats alone do not complete a veneer order. Corners, sills, caps, hearths, trim, flashing accessories, drainage components, lath, fasteners, membranes, mortars, pigments, and sealants may all be part of the package. Reviewing the transition schedule early reduces the chance that a crew reaches a critical detail without the specified component.
Protect Clearances and Drainage Paths
The bottom edge of veneer deserves the same attention as the top. Finished grade, paving, roof surfaces, decks, and planting beds cannot simply be raised until they touch the stone. Required clearances, drainage openings, screeds, and termination details must remain functional and accessible. Final elevations should be coordinated before adjacent hardscape and landscape work locks the site into place.
For estate-scale projects, this is a cross-trade issue. The mason may be working from an elevation established by the builder, while the landscape contractor controls patio grades and the roofer controls a lower roof intersection. One coordination drawing or marked elevation can prevent incompatible assumptions. If the patio is raised later or mulch is piled against a drainage termination, the intended path for water can be compromised.
Use a Sample Panel to Approve More Than Color
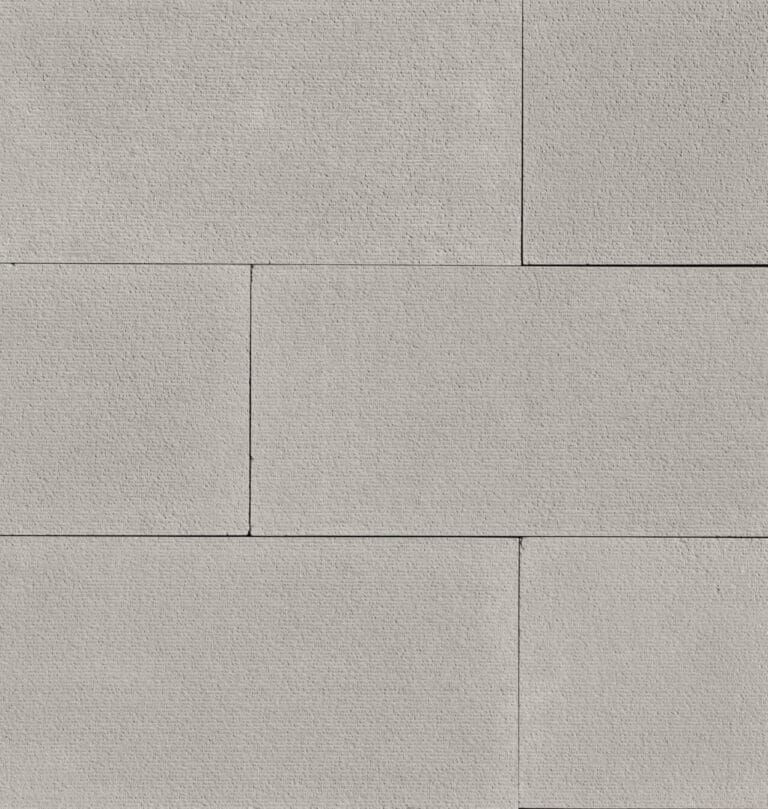
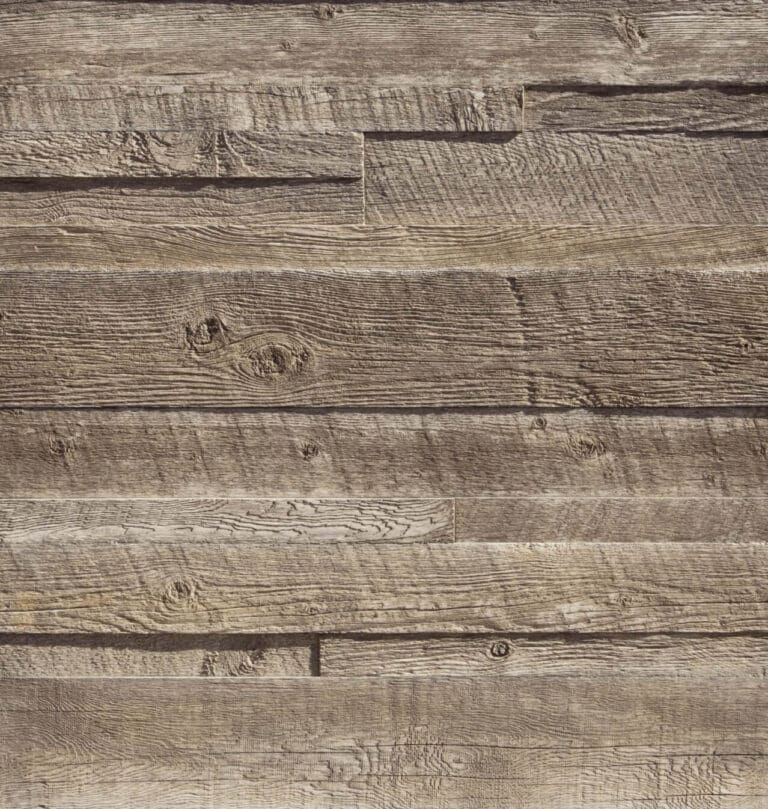
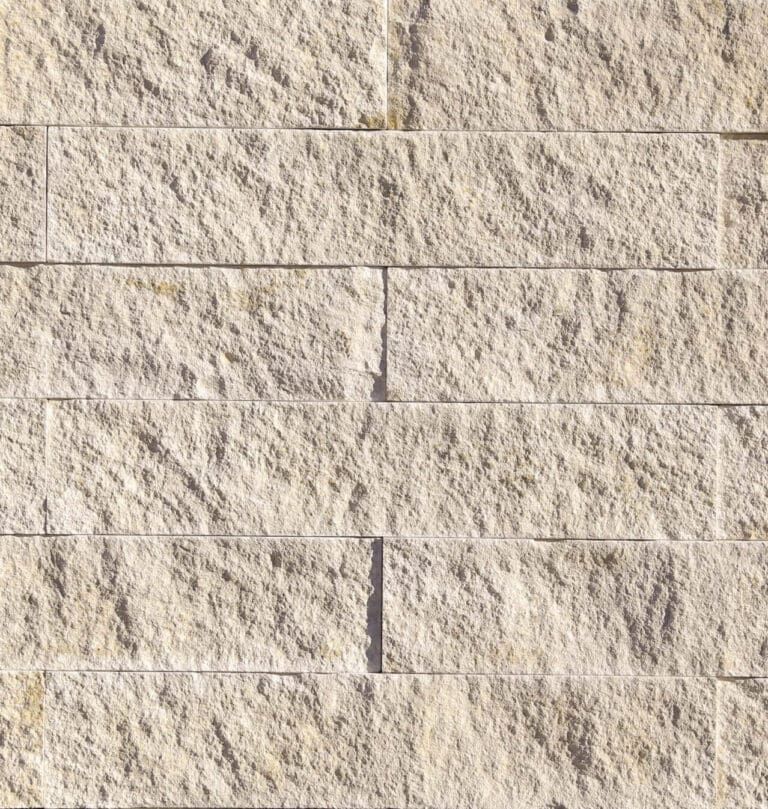
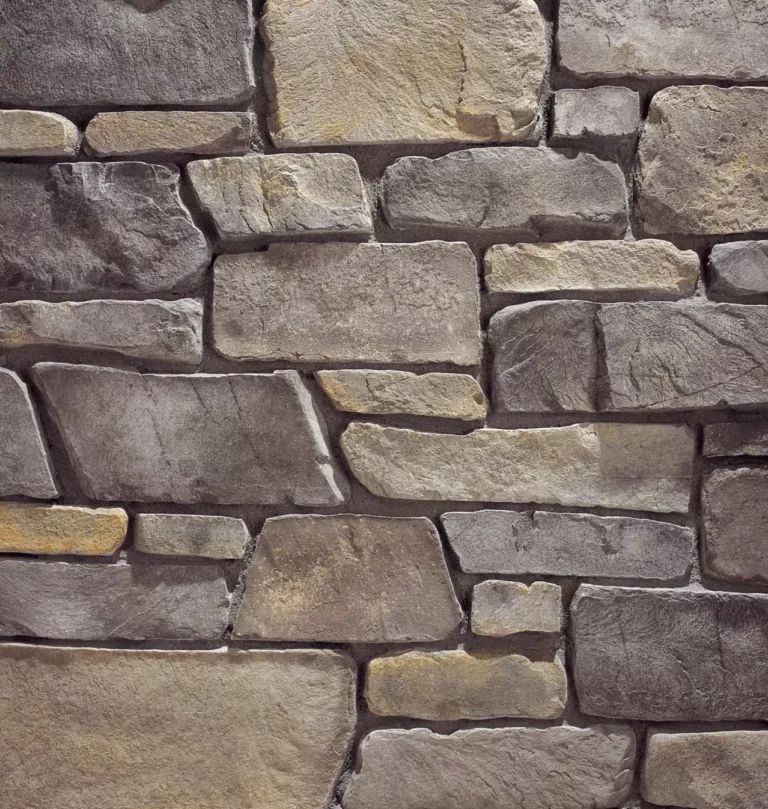
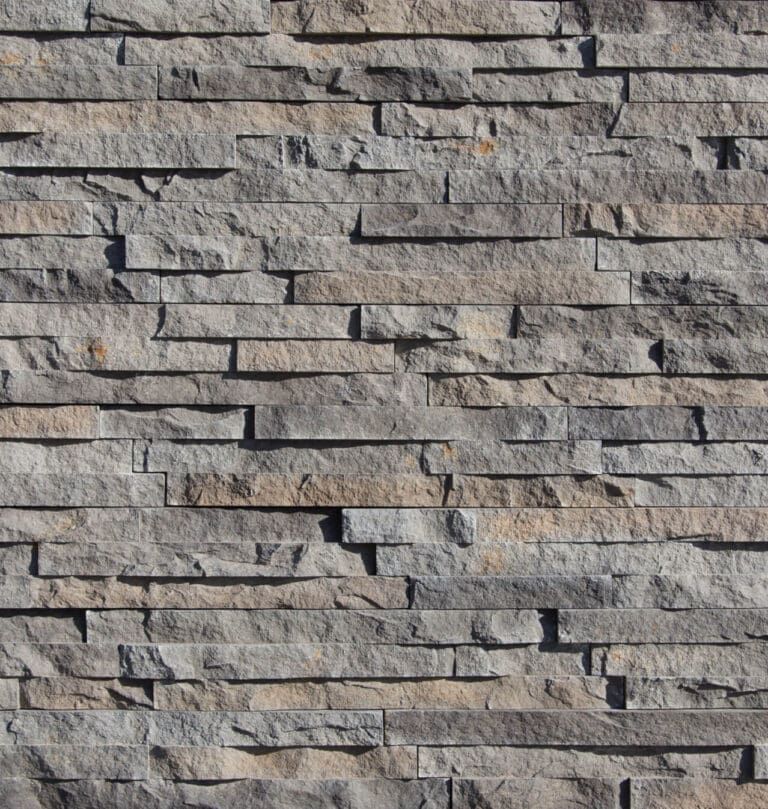
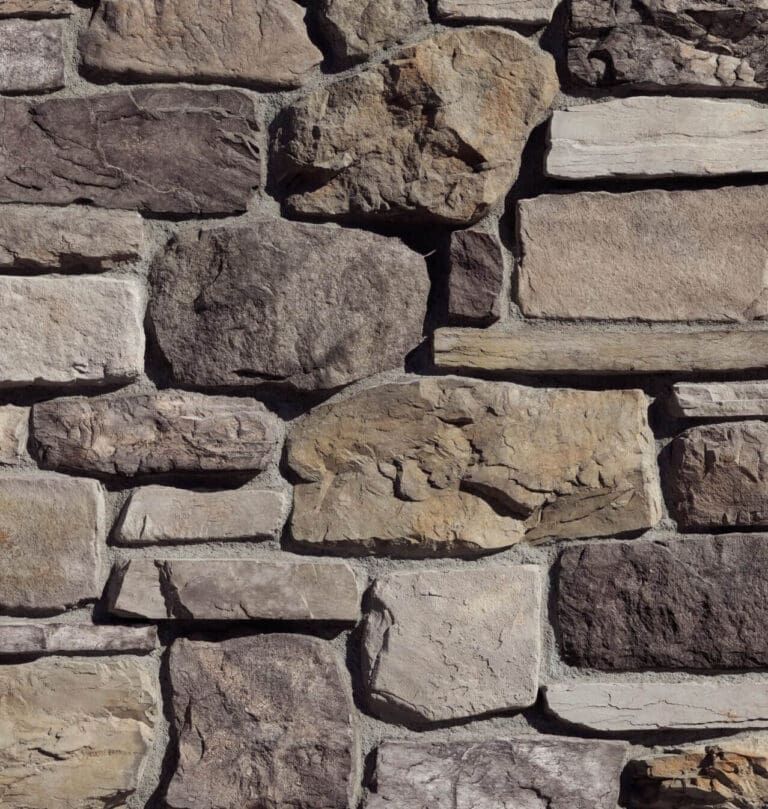
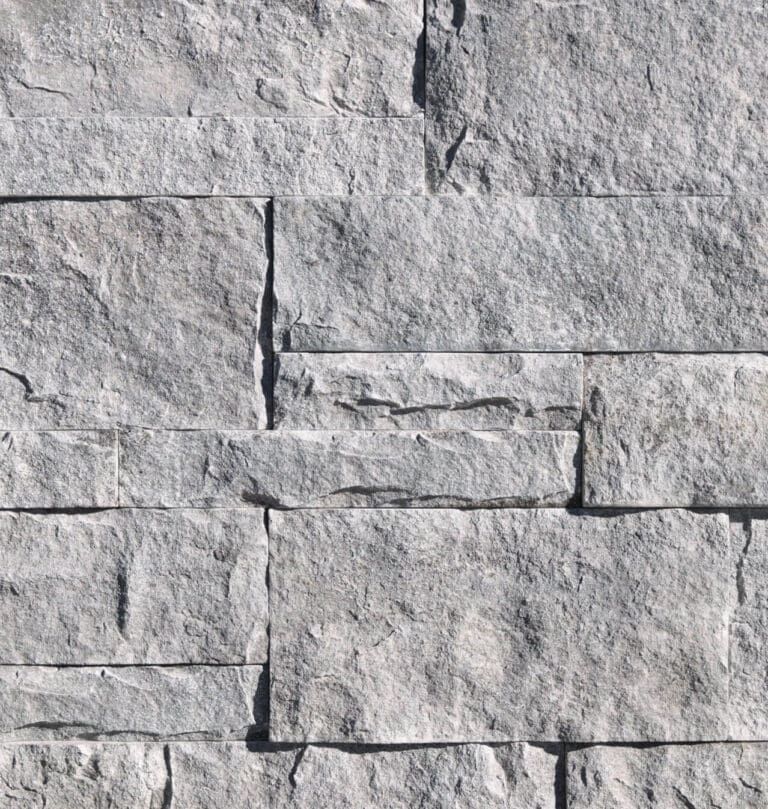
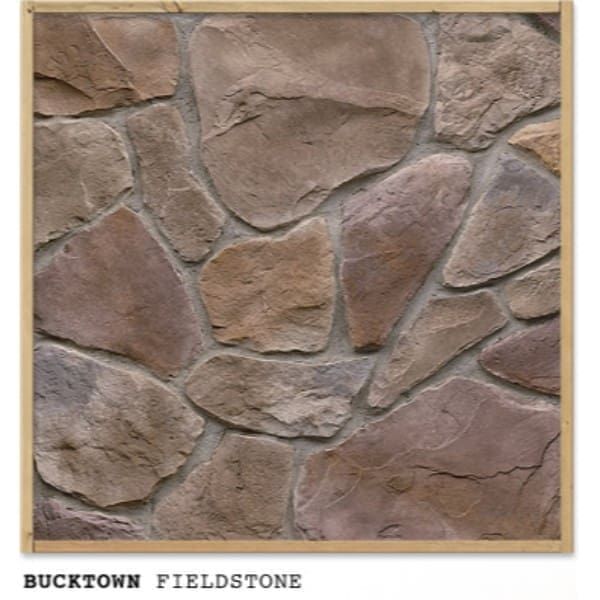
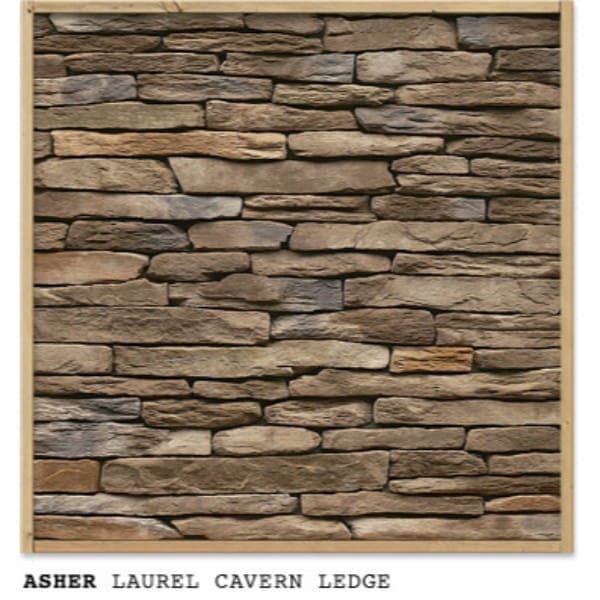
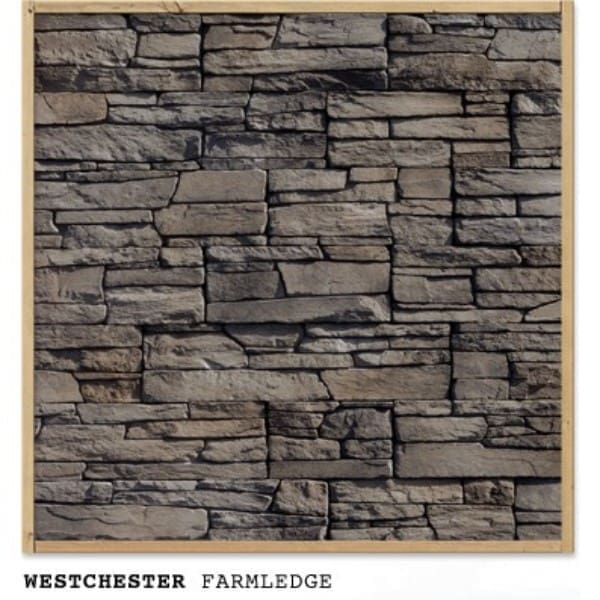
A useful veneer sample panel does more than display a few attractive stones. It lets the team evaluate the approved wall build-up, bond pattern, corner treatment, mortar color, joint profile, stone blending, cuts, cleaning method, and adjacent materials under actual site light. On a prominent Long Island residence, the panel can become the visual standard for several elevations and later project phases.
Record the product, profile, color, lot information when available, mortar and pigment, joint treatment, accessory choices, sealant color, and approval date. Photograph the accepted panel in neutral light, but do not rely on photographs alone; screens and changing light can distort color. Keep the physical panel protected until the work is substantially complete.
Plan the Complete Material Package
A disciplined order begins with measured areas and a drawing review. Separate flats from outside corners, inside corners where applicable, sills, caps, hearths, and special pieces. Account for openings, returns, pattern, cuts, waste, field selection, and repair material based on the designer’s and installer’s requirements. Natural stone variation and manufactured-product lot variation should be discussed before the order, not discovered one elevation at a time.
For large work, decide how material will be staged and blended. Confirm whether several pallets or boxes should be opened together so the installer can distribute the range. Protect labels and retain packaging information until the project team accepts the installed work. If the construction will occur in phases, document what is being reserved and what can change between future production runs.
Close the Loop Before Installation Starts
A short preinstallation meeting can save days of field decisions. The builder, designer, installer, and relevant trades should review the approved panel, wall sections, openings, flashing, penetrations, caps, grade, movement joints, sequence, storage, protection, and manufacturer instructions. Any open item should have an owner and a due date.
When requesting material support from 9 Brothers Building Supply, bring the current drawings, elevations, measured areas, veneer selection, accessory schedule, approved sample information, delivery location, and project sequence. The yard can help organize the specified products and identify questions that should go back to the project team. The final design and installation decisions remain with the qualified professionals responsible for the work.
Frequently Asked Questions
Is exterior stone veneer waterproof?
No. Stone veneer is the exterior finish, while water management depends on the complete approved wall assembly, including drainage layers, flashing, openings, terminations, and compatible installation materials.
What should be decided before ordering stone veneer?
Confirm the substrate, approved wall system, veneer profile, flats, corners, sills, caps, flashing and drainage accessories, setting and pointing materials, transitions, quantities, sample panel, and delivery sequence.
Why should window and door details be reviewed early?
Openings concentrate flashing, drainage, trim, sealant, thickness, and return conditions. Resolving them early prevents field improvisation and helps produce a complete accessory order.
Does every veneer project use the same materials behind the stone?
No. Required components depend on the substrate, veneer type, approved design, applicable code, exposure, manufacturer instructions, and project specifications.
Who is responsible for designing the veneer wall assembly?
The project’s qualified designer and responsible construction professionals determine and approve the assembly. A material supplier can help organize specified products but should not be treated as the designer or installer.
What should be saved after the sample panel is approved?
Record the veneer name, profile, color, lot information when available, mortar and pigment, joint treatment, accessories, sealant color, approval date, photographs, and the protected physical panel.